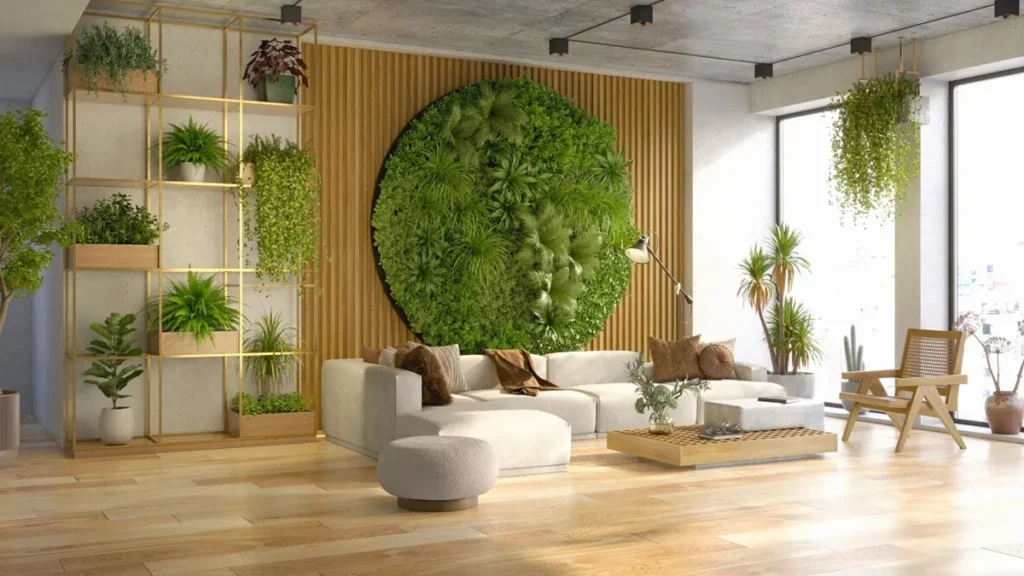
Vertical indoor gardens are an innovative way to bring greenery into your home while maximizing limited space. Whether you live in a small apartment or simply want to add a touch of nature to your interior decor, vertical gardens offer a versatile and visually appealing solution. In this guide, we’ll explore step-by-step instructions for creating your own vertical indoor garden, from selecting the right plants to designing and maintaining your vertical garden structure.
1. Choose the Right Location:
The first step in creating a vertical indoor garden is selecting the right location for your plants. Consider areas with ample natural light, such as near windows or under skylights, as most indoor plants require sunlight to thrive. Additionally, choose a location that is easily accessible for watering and maintenance, as vertical gardens may require more frequent attention than traditional plant arrangements.
2. Select Suitable Plants:
When choosing plants for your vertical garden, opt for species that are well-suited to indoor growing conditions. Consider factors such as light requirements, humidity levels, and space constraints when making your selection. Some popular choices for vertical gardens include trailing vines like pothos and philodendron, compact succulents, and air-purifying plants like spider plants and peace lilies. Be sure to choose plants with similar care requirements to simplify maintenance.
3. Design Your Vertical Garden Structure:
Once you’ve selected your plants, it’s time to design your vertical garden structure. There are several options to choose from, including wall-mounted planters, freestanding shelving units, and hanging planters. Consider the size and layout of your space, as well as your aesthetic preferences, when selecting a design. For a cohesive look, opt for a uniform style and color scheme that complements your existing decor.
4. Prepare the Growing Medium:
Before planting your vertical garden, prepare the growing medium to provide adequate support and nutrients for your plants. Use a lightweight potting mix formulated for indoor gardening, as it will provide good drainage and aeration for your plants’ roots. If using a wall-mounted system, line the planters with a moisture-resistant barrier to protect your walls from water damage.
5. Plant Your Garden:
Once your structure and growing medium are prepared, it’s time to plant your vertical garden. Start by arranging your plants in their designated positions, taking care to space them evenly and allow room for growth. Gently remove each plant from its nursery pot, loosen the roots, and place it into the prepared planter. Backfill with potting mix and water thoroughly to settle the soil and hydrate the plants.
6. Maintain Your Vertical Garden:
Proper maintenance is key to the success of your vertical indoor garden. Regularly monitor your plants for signs of pests, disease, or nutrient deficiencies, and address any issues promptly. Water your plants as needed, taking care not to overwater or underwater, and fertilize regularly with a balanced liquid fertilizer to promote healthy growth. Prune and trim your plants as needed to maintain their shape and prevent overcrowding
Creating a vertical indoor garden is a rewarding project that allows you to enjoy the beauty of nature in any space. By following these step-by-step instructions and selecting the right plants and structure for your space, you can create a stunning vertical garden that enhances your home’s aesthetic appeal and brings a sense of tranquility to your indoor environment. With proper care and maintenance, your vertical garden will thrive and provide years of enjoyment for you and your family.

